Welcoming a newborn into your home is a whirlwind of joy, cuddles, and yes—a whole lot of diaper changes. If you’re a first-time parent staring at a squirming baby and a pile of tiny diapers, feeling a bit overwhelmed is completely normal. The good news? Newborn diaper changing doesn’t have to be intimidating. With a little preparation, the right techniques, and a dash of confidence, you’ll be a pro in no time. This comprehensive guide walks you through every detail of newborn diaper changing, from gathering supplies to preventing rashes, all while sharing practical baby diaper tips and newborn tips to make the process smoother for you and your little one.
By the end of this post, you’ll not only master the basics but also understand key decisions like cloth vs disposable diapers and how to keep diaper rash at bay. Let’s dive in and turn those diaper-changing jitters into confidence!
Why Newborn Diaper Changing Matters More Than You Think
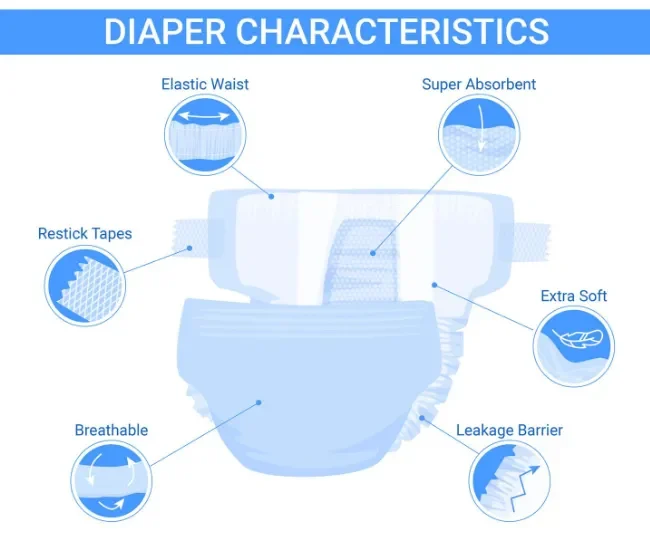
Newborns go through 8–12 diapers a day, which means you’ll be changing diapers around 3,000 times in the first year alone. That’s a lot of practice! But beyond the numbers, proper newborn diaper changing plays a huge role in your baby’s comfort, health, and even bonding time with you.
Imagine this: It’s 2 a.m., your baby is fussing, and a soggy diaper is the culprit. A quick, gentle change can soothe them back to sleep—and help you get some rest too. On the flip side, a poorly done change can lead to leaks, discomfort, or even diaper rash, which nobody wants. Mastering this skill early sets the foundation for stress-free parenting moments and keeps your baby happy and healthy.
In this guide, we’ll cover everything from supplies to step-by-step instructions, plus rash prevention strategies and newborn tips to make diaper duty a breeze.
Essential Supplies for Smooth Newborn Diaper Changing
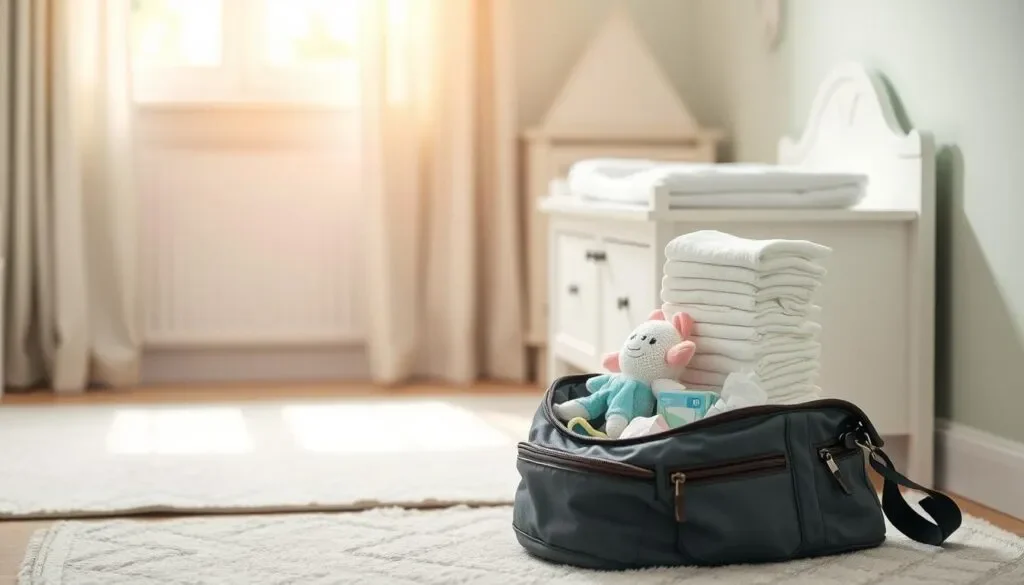
Before you tackle your first diaper change, let’s talk gear. Having the right supplies within arm’s reach prevents mid-change disasters (like realizing you’re out of wipes while your baby is mid-kick).
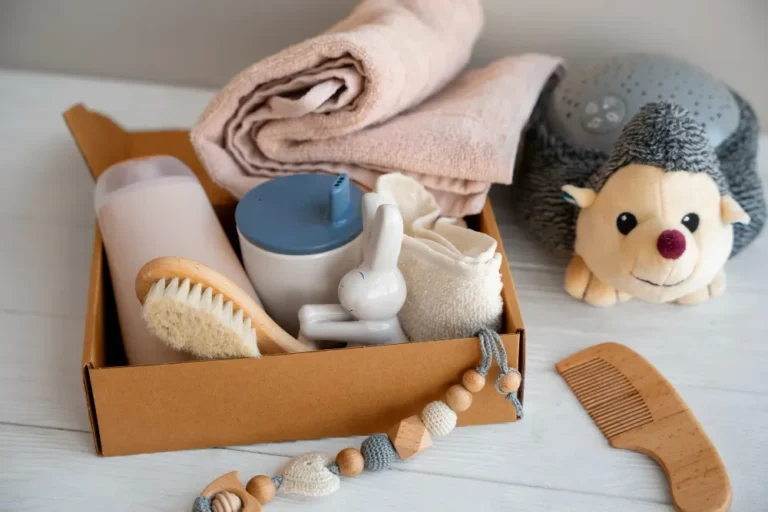
Here’s a beginner-friendly checklist:
- Diapers: Stock up on newborn-sized diapers (usually up to 10 pounds). Brands like Pampers Swaddlers or Huggies Little Snugglers are popular for their softness and leak protection.
- Wipes: Fragrance-free, hypoallergenic wipes are gentlest on newborn skin. Water wipes or cotton pads with warm water work too.
- Diaper Rash Cream: Zinc oxide-based creams like Desitin or Aquaphor are rash-prevention superheroes.
- Changing Pad or Mat: A waterproof, washable pad protects surfaces and provides a comfy spot for baby.
- Clean Clothes/Onesies: Accidents happen—keep extras nearby.
- Diaper Pail or Trash Bin: A sealed pail with liners keeps odors contained.
- Hand Sanitizer: For quick cleanups when you can’t wash your hands immediately.
Pro Tip: Set up a portable changing station downstairs and one in the nursery. This saves you from running up and down stairs during those late-night changes.
Real-world example: Sarah, a new mom, kept forgetting wipes during middle-of-the-night changes. After one particularly messy incident, she created a “diaper caddy” with all essentials and placed it on every level of her home. Problem solved!
Step-by-Step Guide to Newborn Diaper Changing
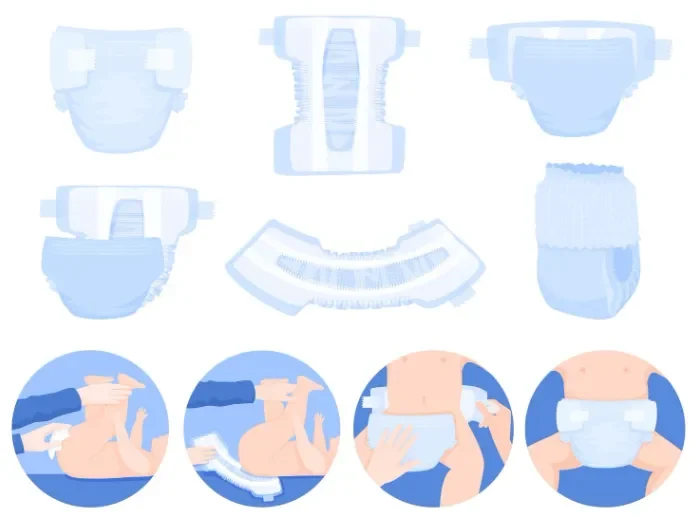
Now, let’s get to the heart of newborn diaper changing—the actual process. Follow these steps for a clean, safe, and efficient change every time.
Step 1: Prepare Your Station
Lay your baby on a clean changing pad. Unfasten the dirty diaper but don’t remove it yet. Have wipes, a fresh diaper, and rash cream ready.
Step 2: Clean Thoroughly
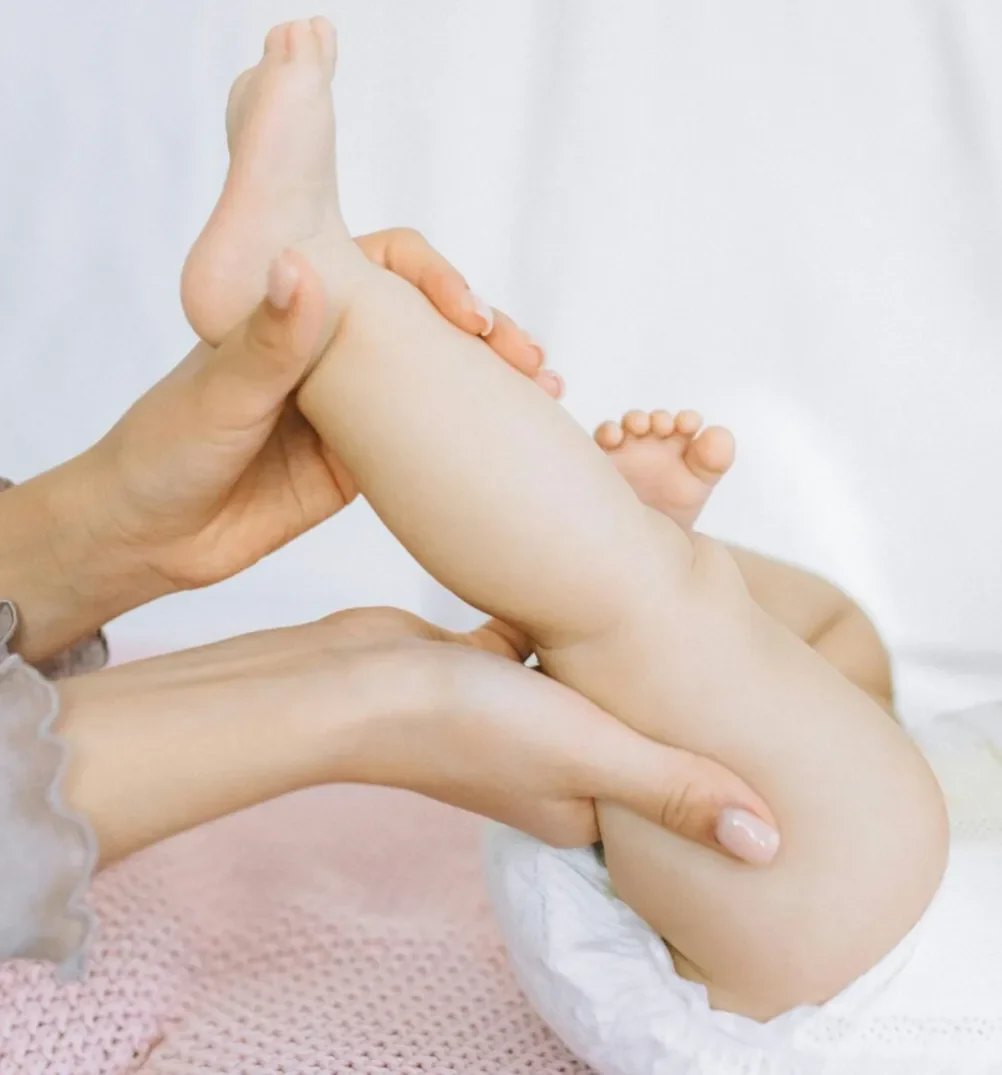
Lift baby’s legs gently by the ankles. Wipe front to back (especially for girls to prevent UTIs). Use a fresh wipe for each pass to avoid spreading bacteria.
Step 3: Let Skin Air-Dry
Pat the area dry with a soft cloth or let it air-dry for 30 seconds. This is a key rash prevention step.
Step 4: Apply Barrier Cream (If Needed)
If skin looks red or you’re using disposable diapers overnight, apply a thin layer of zinc oxide cream.
Step 5: Slide on the New Diaper
Place the clean diaper under baby, ensuring the back (with tabs) is at waist level. Bring the front up between the legs and fasten snugly—but not too tight.
Step 6: Dress and Dispose
Put on a fresh onesie, dispose of the soiled diaper in a sealed pail, and wash your hands.
Table: Quick Newborn Diaper Changing Checklist
| Step | Action |
|---|---|
| 1 | Lay baby on clean pad; gather supplies |
| 2 | Wipe front to back with fresh wipes |
| 3 | Pat dry or air-dry skin |
| 4 | Apply rash cream if needed |
| 5 | Secure new diaper snugly |
| 6 | Dress baby; dispose of waste |
This table can be your go-to cheat sheet—print it and stick it near your changing station!
Cloth vs Disposable Diapers: Which Is Right for Your Newborn?

One of the biggest decisions new parents face is cloth vs disposable diapers. Both have pros and cons, and the “best” choice depends on your lifestyle, budget, and values.
Disposable Diapers
- Pros: Convenient, widely available, excellent absorbency, no laundry required.
- Cons: More expensive over time, environmental impact, potential for chemical exposure (though most brands are now phthalate-free).
Cloth Diapers
- Pros: Cost-effective long-term, eco-friendly, customizable fit, cute patterns.
- Cons: Requires laundering, less convenient for travel or daycare, learning curve for folding/snapping.
Hypothetical Scenario: Imagine you’re heading out for a family dinner. With disposables, you toss a few in your bag and go. With cloth, you need a wet bag for soiled diapers and a backup plan for washing. For many parents, a hybrid approach works best—disposables for outings, cloth at home.
Baby Diaper Tip: Whichever you choose, change diapers every 2–3 hours (or immediately if soiled) to prevent leaks and rashes.
Rash Prevention: Keeping Your Newborn’s Skin Happy
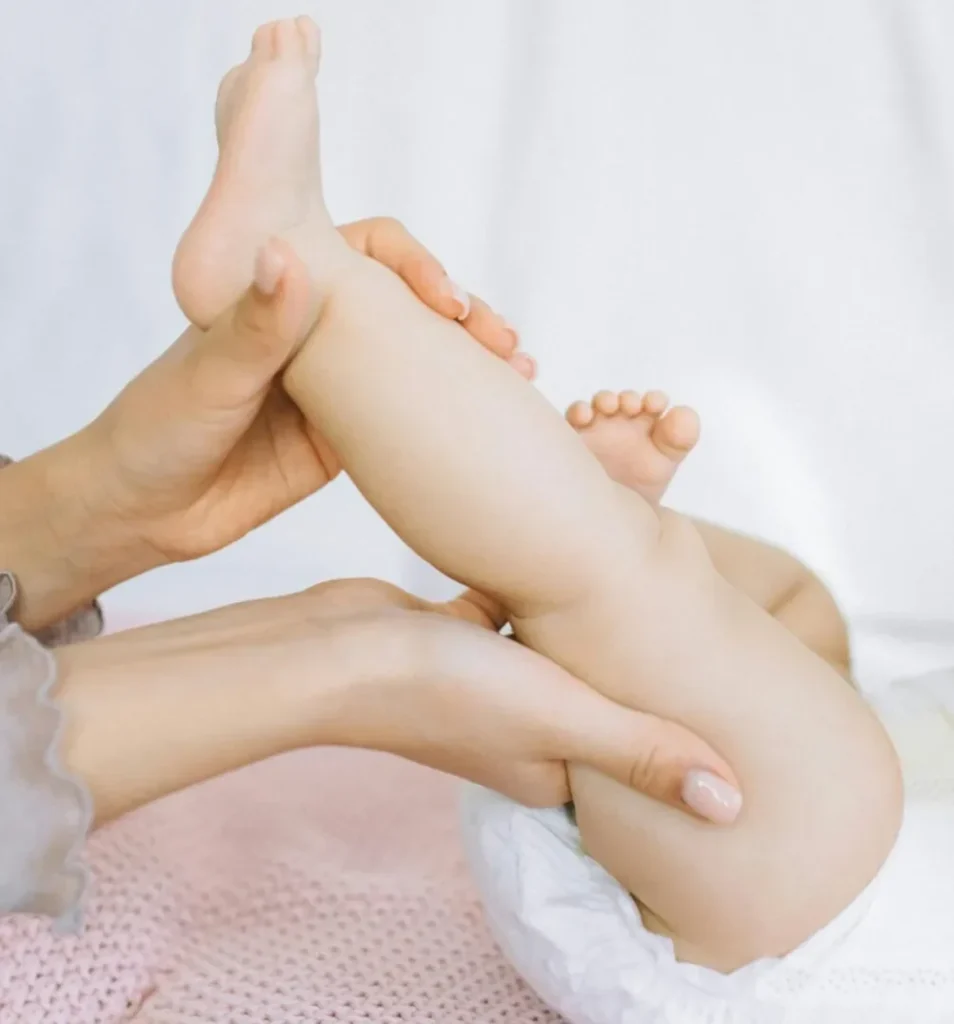
Diaper rash is the enemy of every parent, but with smart rash prevention strategies, you can keep it at bay. Newborn skin is delicate, and prolonged exposure to moisture or irritants is the main culprit.
Top Rash Prevention Tips
- Change Frequently: Don’t let wet or soiled diapers linger.
- Clean Gently: Avoid harsh soaps; stick to water or sensitive wipes.
- Air Out: During changes, let baby’s bottom air-dry for a minute.
- Use Barrier Creams: Apply at every change if rash-prone.
- Choose Breathable Diapers: Look for chlorine-free disposables or natural-fiber cloth diapers.
Real example: When little Emma developed a mild rash, her parents switched to overnight application of a thick zinc oxide layer and added 5-minute “naked time” on a towel after each change. The rash cleared in 48 hours!
Common Challenges in Newborn Diaper Changing (And How to Solve Them)
Even with the best intentions, diaper changing comes with hiccups. Here are three frequent issues and newborn tips to tackle them.
Challenge 1: The Mid-Change Poop Explosion
Solution: Keep the dirty diaper partially on as a shield while cleaning. Have extra wipes ready.
Challenge 2: Squirmy Baby Kicks
Solution: Distract with a toy, mobile, or sing a song. Use one hand to gently hold legs if needed.
Challenge 3: Leaks at Night
Solution: Size up one diaper size for overnight, or add a booster pad to cloth diapers. Point boy parts downward before fastening.
Myth Buster: “Newborns don’t need diaper cream unless they have a rash.” False! Preventive cream creates a barrier against moisture—think of it as insurance for delicate skin.
Advanced Newborn Tips for Diaper Changing Mastery
Once you’ve nailed the basics, level up with these newborn tips:
- Track Changes: Use a diaper log app to monitor wet/soiled diapers—helpful for pediatrician visits and ensuring baby is feeding well.
- Eco-Friendly Disposables: Brands like Honest Company or Seventh Generation offer plant-based options.
- Travel Hacks: Pack a foldable changing pad and zip-lock bags for soiled diapers on the go.
- Sibling Involvement: Older kids can hand you wipes or choose the diaper pattern—turns chore into family fun.
Long-term benefit? Efficient newborn diaper changing routines save time, reduce stress, and strengthen your bond with baby through positive touch and eye contact.
Conclusion: You’ve Got This!
From gathering supplies to mastering the perfect fold, newborn diaper changing is a skill that gets easier with every change. Remember the key baby diaper tips: change often, clean gently, and always prioritize comfort. Whether you choose cloth vs disposable, focus on rash prevention, or simply follow the step-by-step guide, you’re building a foundation of care that benefits your baby every day.
Start implementing these newborn tips today—your future sleep-deprived self will thank you! Grab your supplies, take a deep breath, and dive into diaper duty with confidence. You and your little one are going to ace this parenting adventure together.
Frequently Asked Questions (FAQs)
How often should I change my newborn’s diaper?
Change every 2–3 hours or immediately if soiled. Newborns typically need 8–12 changes daily.
Is it okay to use baby powder during newborn diaper changing?
Avoid talc-based powders due to inhalation risks. Cornstarch-based options are safer but often unnecessary with modern diapers.
What’s the best way to prevent diaper rash?
Frequent changes, gentle cleaning, air-drying, and a zinc oxide barrier cream are your best defenses.
Cloth vs disposable: which is cheaper for newborns?
Cloth saves money long-term (after initial investment), while disposables cost about $70–80/month for newborns.
My baby cries during every diaper change—what can I do?
Keep the room warm, use distractions (toys, singing), and move quickly but gently. Most babies outgrow this phase.
Improving parenting skills and communication
